Embed Maps & Calendar Bookings to Shopify
Adding interactive elements to your Shopify store is a great way to make your site more useful and engaging for customers. Instead of just showing text and images, you can give shoppers tools they can actually use.
With EmbedAny, you can:
- Show a map for your store’s location, service areas, or event venues.
- Embed Calendly or Google Calendar so visitors can instantly book appointments, demos, or consultations without leaving your store.
This makes your site more professional, convenient, and customer-friendly.
1. Embedding Maps in Shopify
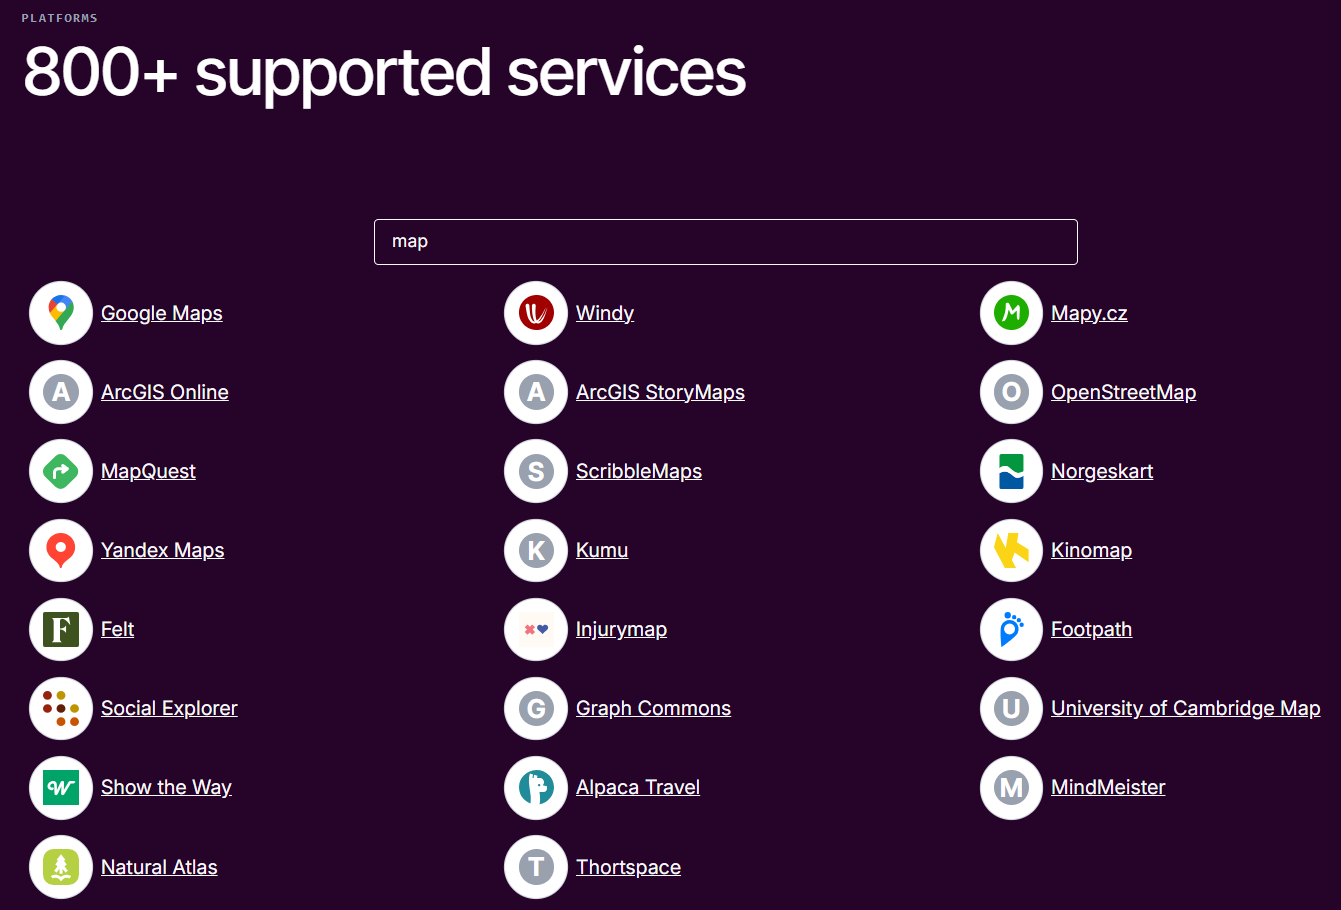
Add a Google Maps link (or similar) to:
- Show your store or office location.
- Highlight service coverage areas.
- Provide directions for events.
- Embed hiking trails, EarthView, and other map technologies related to your use case.
How to do it?
- Copy the map’s share link.
- Paste it into your product description, landing page, or blog in Shopify.
- Highlight and italicize it (Ctrl+I on Windows / Cmd+I on Mac).
- Save.
EmbedAny will turn it into a live, interactive map.
👉 Learn more in the embedding widgets in Shopify using EmbedAny guide.
2. Add Calendar Bookings to Shopify
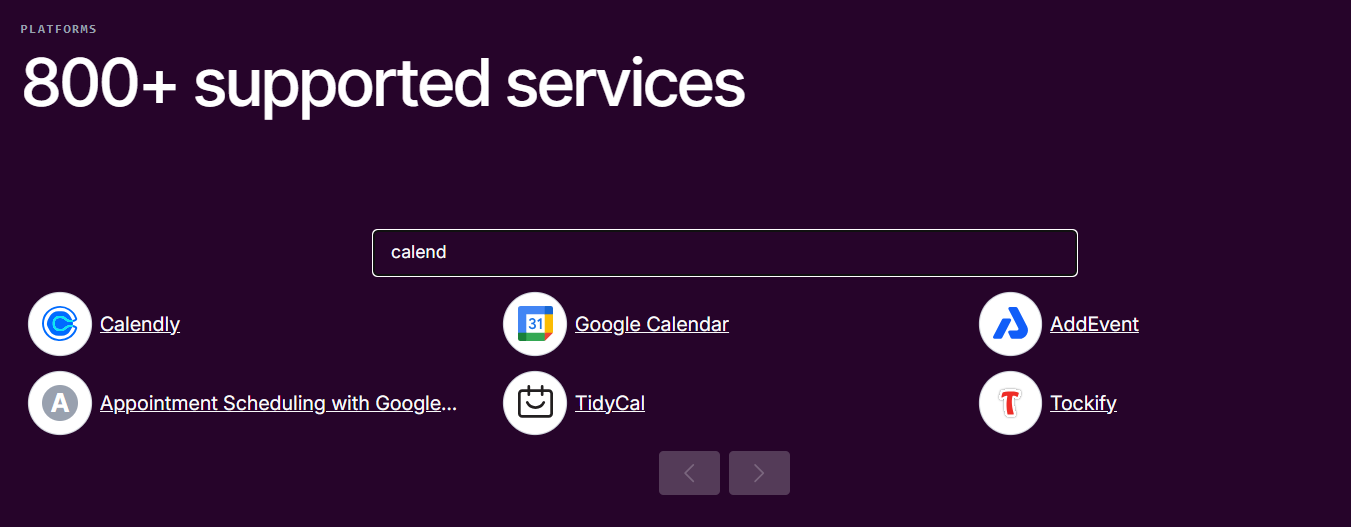
Make scheduling effortless by embedding tools like Calendly, Google Calendar, and more:
- Allow customers to book consultations or demos.
- Offer appointment scheduling for services.
- Promote upcoming events with a live calendar.
How to do it?
- Copy the calendar or booking link.
- Paste it into the section on your store where you want.
- Italicize the link.
- Save.
EmbedAny converts it into a working booking widget directly on your site. You can paste it into a text field on your landing page, Contact Us page, or anywhere else.
👉 Learn more in the embedding widgets in Shopify using EmbedAny guide.
✨ With maps and calendar embeds, you can help customers find you and book time with you, all without leaving your Shopify store.